Showing posts with label Altered Item. Show all posts

Saturday, November 5, 2011

New Release: Grow

Hi all,
I'm sure you've seen the stellar release at Some Odd Girl from November 1st - there are no words to explain these images.  LOVE them.

Anyhow, us ODDies had a blog hop on October 31st and November 1st leading up to the release, and we each showed one of our projects.  I also showed a second project earlier this week, and today is my final project with the 3rd image!

I made tags/bookmarks with all of them, so here is Grow:

Like I said with the previous tags, I bought the tags at Michael's, and they are by Inkssentials.  I sponged this one with Peeled Paint distres ink around the edges.  The patterned paper is from the My Mind's Eye Lime Twist collection called Out of the Blue, and that was matted with black CS.  I cut a couple of clouds out of white felt with my Die-Namics die and glued them to the top.  I stamped the decorative corner and the sentiment (which both come with the image) in black ink, and I darkened them with a Sakura Glaze pen so they would stand out more. 

I stamped Grow onto Bella's Bestest Paper using Memento Tuxedo Black ink and coloured her with Copics.  I cut her out with a thin white border around, then adhered her to some black CS and cut her out again with a black border.  I just needed her to stand out a bit more from that busy paper. 

Here is a shot of all 3 tags together:

Hope you enjoyed, and thanks for stopping by!

Wednesday, November 2, 2011

New Release: Believe

Hi All,

Well, hopefully you got to hop along for the new release with Some Odd Girl!  As you have seen over the past couple of days, Kristy has created these beautiful Nouveau Girls to add to the SOG family, and they are GORGEOUS!  They are photopolymer clear stamps, so this is not a digi release.
When we got these in the mail, we swooned!

Today, I'm showing you Believe.
Once again, I made a tag or bookmark with her.

My snowflake paper is from the Winter Mat Stack by DCWV, and it's glittery and fun!  I also punched the snowflake edge with my Martha Stewart edge punch, and the blue snowflake are from a Jolee's packet of stickers.

I stamped Believe in Memento Tuxedo black ink onto Bella's Bestest Paper, and coloured her with Copics.  I love all the folds and drapes in her dress - they are a colouring dream!  Although somewhat time-consuming.  But colouring is so relaxing, that you can't go wrong!

Make sure you head over to the SOG blog to see all the ODDies' creations.  You will be so inspired!
The release is out, so head to the store and pick up all 3 - you won't be able to choose!  She also comes with a sentiment and some gorgeous flower accessory stamps:


Hope you enjoyed, and thanks for stopping by!

Monday, October 31, 2011

Nouveau Girls Blog Hop: Bliss

Hi all,
Welcome to our Blog Hop for the Nouveau Girls release at Some Odd Girl!  You should have arrived from Amy's blog - if you didn't, you might want to start at the beginning on the SOG blog!  You won't want to miss anything!

There has been alot of excitement building up to this event but not only do we have this new line to share with you, we also have some other fun, new things too!

Along the way you'll see some fabulous projects by our Odd Girls who have just had so much fun with this new line and have been bursting at the seams to share! We're bringing you 3 Clear Stamp designs that we hope will knock your socks off and you'll love for all sorts of projects.

Here's my project for today:

I made a cute little tag or bookmark for my project!  I bought these tags at Michael's and they are from Inkssentials.  I sponged some Walnut Stain distress ink around the tag first.  The bird cage paper and the polka dot paper are from the Authentique pack called Blissful (pure coincidence with the stamp name, I swear).  I stamped the sentiment that comes with the image on that paper using black ink.  The sparkly flower is from a Martha Stewart package of Chrysanthemum stickers, and the butterfly is also from Martha Stewart. 

I stamped Bliss onto Bella's Bestest Paper with Memento Tuxedo black ink, and coloured her with Copics.  I cut her out with a thin white border around and adhered her with foam dots.  Isn't she gorgeous??? Kristy has outdone herself with this line!!!

Here is the full hop lineup:

Old Some Odd Girl Blog 
Melissa
Leah
Natasha
Sarah
Corry
Christina
Amy
Robin <-------You are HERE :-)
Lou
Elena
Vera
Caz
Kristy
New Some Odd Girl Blog
Nouveau Girls Site

We are hopping October 31 - Nov 1 with some special projects on the Nouveau Girls Blog the rest of the week. You have thru Nov 1st (midnight EST) to make sure and comment on every stop to be entered to win all three designs from the release! See you at the very end for the full reveal!
Now, head over to Lou's blog!

Hope you enjoyed, and thanks for stopping by!

Sunday, October 23, 2011

The Start of a Bellarific Calendar

Hi all,

Last weekend, there was an amazing class at Stamping Bella - it was a calendar class held by Christine.  I decided to attend, even though I couldn't stay the whole time, but the project was amazing!  I'm showing you the pages from January and February today.

Now, she obviously brought us our kits with everything pre-cut.  Don't the know the cardstock colours and patterned paper brands, but I think you should just see the pages she did anyway!

Here's January using A Snowman and a Cardinal by Mo Manning:

I loved the colours on the snowman, and there was a lot of glitter on this one - just gorgeous!  I coloured him with Copics, but she had a Prismacolour option as well.

Here's a close up of the image:


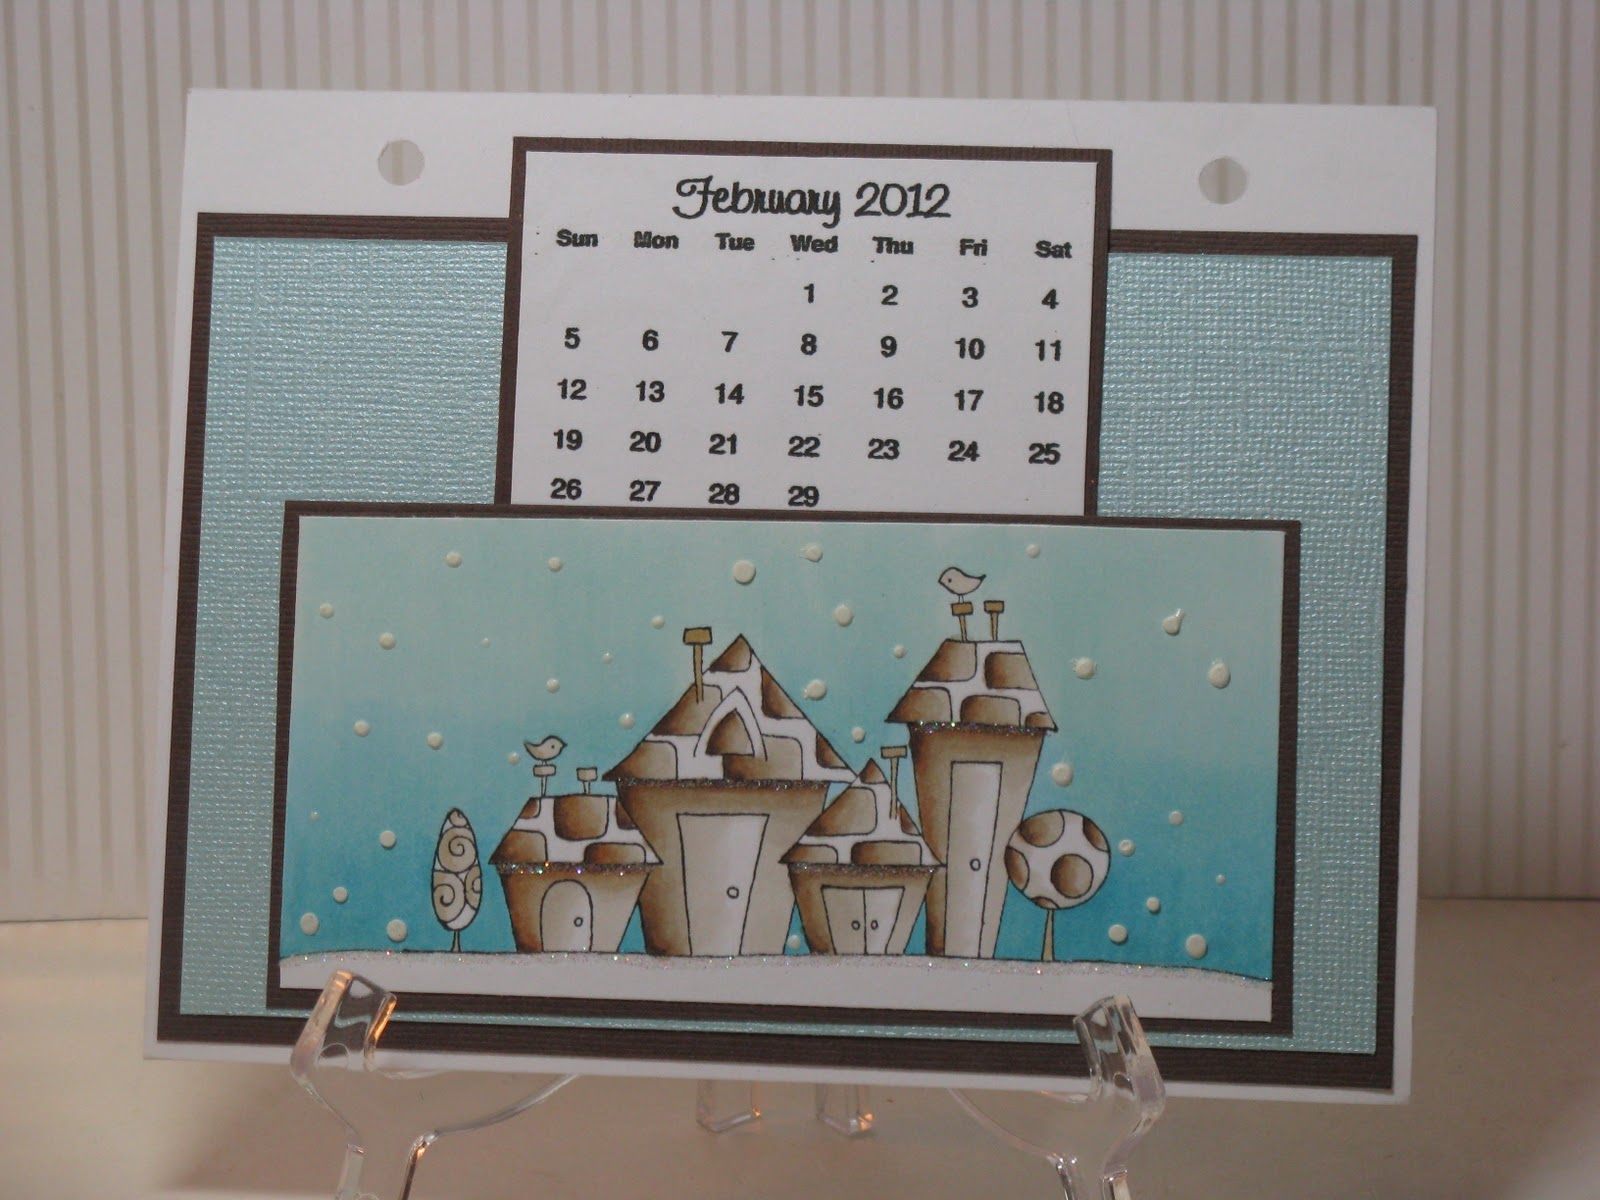
And here's February - I loved the shading of the sky on this one.  Totally done with Copics!
She used the Happy Neighborhood image on this one:
Here's a close up as well...we used some glitter on this one too, as well as Liquid Applique for the snow.

Hopefully I'll get to post the other months soon - it was such a fun project!

Don't forget about our Bellarific Friday challenge for this week to use stripes on your card!

Hope you enjoyed, and thanks for stopping by!

Friday, September 16, 2011

Bookmark & A Blog Hop!

Hi all!

Welcome to Friday, and welcome to the Some Odd Girl clear release Blog Hop!  If you started on the SOG blog, then you are now on the next step!  If you happened upon my blog coincidentally, you may want to start back at the beginning (there may be some prizes in it - wink, wink)!

So, I have some rough news - Canada Post has been playing with us a bit.  Kristy sent us our clear stamps AGES ago, and the two Canadians on the team have not received their packages.  If you noticed, we haven't been able to participate in the sneak peeks this week, because we don't have our goodies :-(

I did make a project with one of my newer digi images to show you today though.  And I'm still gonna show you what the clear sets will look like afterwards!

I made a fun, school-themed bookmark!  I am a reader, so I can always use another bookmark, and I have a few people in my family that are the same!  So, they always come in handy.

My base is Kraft CS and punched the 2 top corners with the Tag Corner Punch, then I used a lovely piece of patterned paper from Basic Grey's line called Olivia, with black and white mats.  I punched a slot at the top, and tied some Bashful Blue taffeta ribbon in a knot, and I added some pink Martha Stewart pearls to the corners.
I also added an extra patch at the top - Kraft CS punched with the Martha Stewart Lattice edge punch, then a white piece, then an SU rub-on for the sentiment.

I printed the adorable School Mae onto Whisper White CS, coloured her with Copics, and cut her out with a thin white border around.  I don't usually do blondes, but I was feeling daring! LOL

So, here are the two sets that the rest of the team will be previewing today, and they are 4" x 6" in size:


Deck the Halls Tobie, including lots of extras

And Warm Wishes Tia, including lots of extras

They are too cute, and I'm bummed I don't have them in my possession!  They will officially be released in the store on September 19!

Make sure you complete the entire hop - comment on every blog for a special surprise giveaway. You have through Sunday at 11:59PM EST to get your comments in! Winner will be announced on Monday.
The next stop on the hop is Sandie! Woo hoo!

Here is the entire hop order, so you don't miss anything:
Some Odd Girl Blog
Robin <-----------------You are HERE
Sandie
Sarah
Amy
Caz
Leah
Vera
Corry
Lou
Elena
Natasha
Christina
Melissa
Kristy


Hope you enjoyed, and thanks for stopping by!

Sunday, December 26, 2010

Gingerbread InStyle

Hi all,

I was playing with some more holiday images from InStyle Stamps, and I decided to make a little treat carrier for all the Kisses I collected! 

I started with a simple 8.5" square piece of Soft Suede CS, and I added 2" tabs on either side.  I folded it into a box, and added some Sticky Strip to adhere the edges.  I wrapped a strip of Rockabilly DSP around it - the yummy piece with the shiny cherries on it.

I printed the Gingerbread House image onto PTI White CS, coloured it in with Copics, cut it out, and attached it with Dimensionals. 

I stuffed some tissue paper and all my Kisses into the box!

Don't forget to check out all the challenges running on the ISS blog! You have a few chances to win some ISS digis!

Hope you enjoyed, and thanks for stopping by!

Wednesday, November 17, 2010

InStyle Stamps: Thankful Inspiration

Hi all,

It is another inspiration Wednesday over at the InStyle Stamps blog!  This month, the DT were asked to make a gift for someone that you wouldn't usually think of, but still needs to be thanked!  I thought of a school teacher, and decided to make a bookmark!  I think it would be great gift to make a bookmark, and give it to a teacher with a great book!

Here is the inspiration pic:


I took the colours as inspiration from this picture, and obviously, the theme of being thankful!

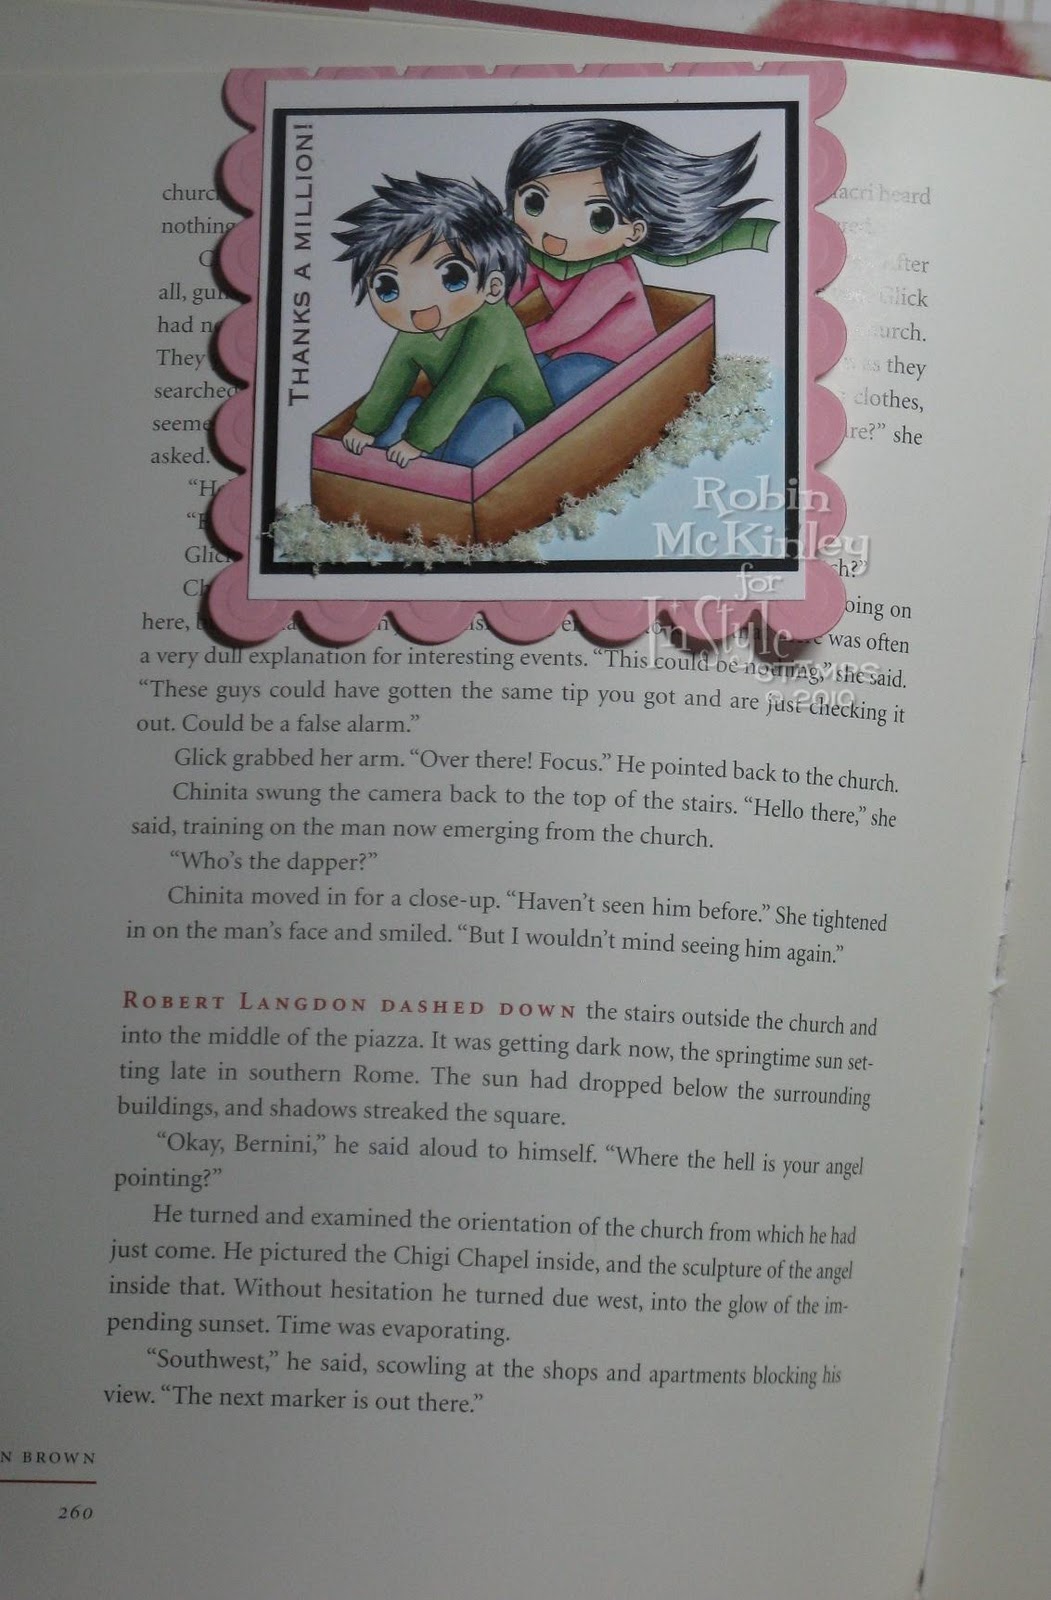
So, I made my bookmark wth Pretty In Pink CS and scallop Square Nesties.  Next, I added a piece of Whisper White CS.

I printed the digi Leang and Sei onto PTI White CS and coloured them with Copics.  I added some Vanilla Flower Soft around the sled for snow, and my sentiment is a Rub-on from Stampin' Up!  That piece was then matted with Basic Black CS.


Make sure to head over to the ISS blog to check out what the DT have done, and to submit your own creation using the inspiration picture!  You have a chance to win some great ISS digis! 

Hope you enjoyed, and thanks for stopping by!

Friday, October 29, 2010

InStyle Stamps Blog Hop

Hi everyone!

Well, another month has almost come to an end, and InStyle Stamps always does a blg hop on the last Friday of the month!  This month, we are making a project that showcases the theme of giving thanks.  So, I decided to make a money/gift card holder! 
If you arrived here from Kristine's blog, you are on the right track.  If not, please head back to the ISS blog to start at the beginning! You don't wanna miss any of the fun...once you are done the hop, go back to the ISS blog, and vote for your favourite DT project, and leave a comment.  There will be a prize for one lucky participant - a $25 goodie bag from from ISS!

Here is my project:

I got this idea from Amy Celona's blog, THIS post...it was probably a couple years ago that I found it, and I've been holding on to it.  Anywho, my base is Close To Cocoa CS, and I added a piece of Bashful Blue on the top.  My DSP is some of my favourite for the winter/holiday season - SU's retired Frosty Days DSP.  I used my scallop edge punch to make the awning, and I added some Martha Stewart Snow Glitter to the top for some fun snow.  My sentiment is from an SU thank you set, stamped onto the blue CS with Close To Cocoa ink. 

I printed Snowflake Chloe onto PTI White CS, coloured her with Copics, and cut her out.  I put a few Dimensionals from her knees up to her head, and attached her to the smaller brown panel.

The half-circle on the inside was cut with my 1 3/4" circle punch, and the snowflake brads I bought at a craft store EONS ago!  I thought they would make a cute touch.  So, this part makes the pocket for the "thank you" money or gift card!

Your next stop on the hop is our guest hopper Wendy Price!  Make sure you leave her some love!

Hope you enjoyed, and thanks for stopping by!

Friday, September 24, 2010

InStyle Stamps Blog Hop

Hi all,

It's time again for a Blog Hop with InStyle Stamps!  This month, our theme is Fall/Autumn!  I decided to make a fun box using Firefly Chloe - she was a brand new release this month!  If you came here from Axa's blog, then you are on the right track!  If not, please head back to the ISS blog to start from the beginning.  Make sure you complete the entire blog hop, then comment on the ISS blog and vote for your favourite DT project - you could win a $25 goodie bag from ISS!

Here is my project:

I started out with a box that I received a gift in recently - I really liked the size of it and the colours, so I had to re-use it! 

I printed Chloe onto PTI White CS, coloured her with Copics, and cut her out with Curved Rectangle Nesties.  I sponged some Wild Wasabi, Tangerine Tango, and Ridinghood Red inks around her.  I added a snippet of Wild Wasabi Striped ribbon to the left side, and a Martha Stewart Gerbera Daisy sticker to the right. 

Glue Arts has generously given the DT a few products to try out, and we are all experimenting with them this week!  Personally, I really like the Glue Glider Pro because of the ease of use - I really like the gun format and it really does glide.  It carries a permanent adhesive, which is awesome. 
Win a free digi image - two random commenters on DT blogs this week will win a free image from ISS - all you have to do is comment on ISS posts on the DT blogs. You have until Sunday the 26th at 12:00 PM EST to do this.  You can check out our post about Glue Arts week HERE.  Here is the shot of the items I used:


Your next stop on the hop is Barbara - have fun with her!

Don't forget that there is a birthday bash with "Operation Write Home", open until Sunday the 26th at 12:00 PM EST, and the prize is 4 digis.  Check out the post HERE.

I hope you enjoyed the hop, and thanks for stopping by!

Wednesday, August 18, 2010

InStyle Stamps Colour Challenge

Hi all,

Thanks for joining us with this month's colour challenge at the InStyle Stamps blog!  Taylor has chosen a yummy picture for us to work with this week - some nice blues and greens...really makes me want a lemonade or a mojito!


I made a bookmark because I am always reading!  Here it is:

My base is Certainly Celery CS.  On top of that, it is Soft Sky and Whisper White, and I added a scallop border to that with an SU punch.  I added 2 pearls to each corner for some pretty!  I cut out a smaller piece of Whisper White with my square Nesties, and sponged some Soft Sky and Certainly Celery inks to create the scene - I also added some grass with a misc stamp.

I printed the digi Paula onto PTI White CS, coloured her with Copics, cut her out, and mounted her onto the bookmark with Dimensionals.  If you are so inclined, you can also find Paula in rubber HERE!

This is one of those bookmarks that sits on the corner of the book...

Don't forget to head over to the ISS blog to see what the DT have done and to enter your own creation using those colours!  You have a chance to win digis from the ISS store!

Hope you enjoyed, and thanks for stopping by!

Wednesday, August 11, 2010

InStyle Stamps: Inspiration Challenge

Hi all,

Well, this is our second Inspiration challenge over at the ISS blog (replacing the Over the Hump Day Blog Candy Giveaway)!  This month, Taylor chose an adorable nursery picture for us to use as inspiration.  Taylor got this modern-looking nursery picture from Room Decorating Ideas:


Really cute, right?  I'm sure everyone's first instinct is to make a baby card...I went with a gift box for a guy instead.  I took the blues and the browns for my project, and instead of the crib, I added a white fence.  But, you can use this picture any way you like - you can use the colours, the theme, the elements in the picture can inspire a layout - anything!

Here is my creation:

I made this box, which I found on Nicole Heady's blog a while back (can't remember the exact post, though).  I also gave the tutorial and measurements this past Monday from the ISS Method Monday post - it's really quick, and only uses one sheet of cardstock, with some other paper scraps!  My box is made of Soft Suede CS, and I used Sticky Strip to put it together.  I also used some Blue Bayou Prints DSP for some added layers, and I stuck some Soft Suede polka dot ribbon around the box as well.  The white strip at the back is Whisper White CS, punched with my Martha Stewart fence edge punch, and the letters are white foam Thickers.

I printed Jax onto PTI White CS, coloured him with Copics, and cut him out. Stuck him on with the usual Dimensionals too.  I used the digi Jax, but if you prefer the feel of succulent, red rubbah in your hands, you can get him as a stamp HERE too!

Don't forget to head over to the ISS blog to see the whole DT lineup, and to submit your own creation using the inspiration photo to try and win 4 digis of your choice from InStyle Stamps! You have a month to play!

Hope you enjoyed, and thanks for stopping by!

Tuesday, May 25, 2010

InStyle Stamps Bookmark

Hi all,

There are some really cute Chloe images at InStyle Stamps right now!  I decided to use Chloe Reading to make a bookmark - very fitting for that image!

I cut the base out of Rose Red CS using my scallop Long Rectangle Nesties.  The next layer is Raspberry Tart DSP. 

For the main panel, I printed Chloe onto PTI White CS, coloured her with Copics, and cut her out with Long Rectangle Nesties.  I added some sponged clouds using Bashful Blue ink.  I mounted that onto a Basic Black CS piece, then onto a scalloped Whisper White piece.  To the right of that, I added 3 Rose Red brads using my Mat Pack and Paper Piercer to line them up.  To the left, I added an Antique Brass clip (from Hodgepodge Hardware), with some pink gingham ribbon tied to it.

Easy Peasy!  I hope you enjoyed, and thanks for stopping by!

Sunday, April 25, 2010

InStyle Gift Box

Hi All,

I decided to make a cute gift box with some chipboard, and an InStyle Stamps digi!  I am using the adorable Ingrid on this one. 

I wanted to make a quick and easy little box for some treats or a small gift.  I went with the Mini Pizza Box - 1 sheet of cardstock, and some embellishments!

My box is made from Sage Shadow CS.  For the next panel, I used a square piece of chipboard, which I covered with purple Dew Drop ink and added faux stitching to.  I matted that square with the striped paper from SU's Enchante pack, then a Whisper White square, and a green square of the DSP.  I added some green rhinestones to each corner.

I printed Ingrid onto PTI White CS and coloured her with Copics.  I also outlined her with a black Atyou Spica glitter pen. I cut her out with Label 4 Nesties, and mounted that panel with Dimensionals.

For the bracket, it is a Dimensional Element (chipboard) from Close To My Heart.  I covered it with some Enchante DSP, and mounted that beside Ingrid with Dimensionals.

Hope you enjoyed, and thanks for stopping by!

Saturday, March 13, 2010

Club Anime Colour Challenge: Chick In Shell

Hi All,

For this month's Club Anime Colour Challenge, I decided to make a really fun and easy Gable Box!  I decided to showcase the Chick In Shell image - it kinda makes me laugh.  I just imagine that little chick on the inside if his shell talking to himself (and the voice is probably echoing off the inner walls!).

Here is the colour inspiration:


I took mostly the green from the photo, but added small amounts of yellow and purple to my project.  The base for my Gable Box is Certainly Celery CS, which was rolled with a Jumbo Dry Brush Wheel and Certainly Celery ink.  The handle was punched with the Wide Oval punch.  Then, there are 2 holes punched with my Crop-A-Dile, and I threaded Certainly Celery Poly Twill Ribbon through it.  Now, I know that Certainly Celery is not exactly the same green as the one in the picture, but I am taking the combo a little bit liberally (I don't have a heck of a lot of bright green around).

The rectangle panel is made up of Petals and Paisleys DSP, matted with Basic Black and Pale Plum CS.  I added 3 green Dew Drops to each side with Mini Glue Dots for some fun texture.

The chick was printed onto PTI White CS, coloured with Copics, and outlined with a Pale Plum marker.  I also sponged some Tempting Turquoise and Creamy Caramel ink, just to make a bit of a scene.  That was cut out with Oval Nesties, and matted onto a black oval.  It's such a cute doodly image - it was a fun one to just colour eratically - the chick looks slightly frazzled : )

Hope you enjoyed this simple and fun Easter project, and hop over the the Club Anime blog to see what the other girls have come up with!

Thanks for stopping by!


Sunday, December 20, 2009

Fairies 2010 Calendar

Hi All,

I decided that I would make my sister a 2010 calendar for Christmas, and since she loves fairies, I had to go to the Greeting Farm!  They have some amazing digital fairies, so I thought they would be perfect for my project!
For the calendar print-out, I got it HERE.  It was printed at 80% of its regular size.  To do that, you just right click on the calendar, and click Select All.  Then, right click on the calendar again, and click Print Preview.  Click on the drop down menu with the percentages, and click 80%.  Then print it onto white CS.  I chopped it into sections, measuring about 1 1/2" x 4 7/8", and the black mat is 1/8" larger on both sides.

For the first quarter of the year, I used the Winter Fairy HERE - printed her off, coloured her with Copic markers, and cut her out.

For her background, I used Whisper White CS, some DSP from DCWV, and some Tempting Turquoise CS punched with a Martha Stewart icicle edge punch.


I decided to switch the Spring and Summer Fairies.
For the second quarter of the year, I used Certainly Celery CS, and some retired SU DSP punched with a Martha Stewart edge punch.  You can find this fairy HERE. 

I also coloured her with Copics and cut her out.


For the third quarter of the year, I used THIS fairy.  Her CS is Pale Purple, and some retired SU DSP, and DCWV sparkly DSP, punched with a Martha Stewart fence edge punch.

I think this image is my favourite of the group...I guess I'm still deciding - they are all amazing!

For the final quarter, I used the Autumn Fairy.  I thought her hair should be kind of orange-y - I like how it fades from orange to brown. 
For this one, I used Blush Blossom CS, Bella Rose DSP, and DCWV DSP, punched with an EK Success edge punch.

I think this fairy looks the most devilish...seems like there is a secret she's keeping.
Well, those are the close-ups of each fairy on each page.
I got this idea from Nancy Morgan's post a while back - the calendar is supposed to be the size of a standard card when folded (ie. 4 1/4" x 5 1/2"), but I had to make mine bigger to accommodate the fairies.  But the measurements of the rest of the pieces are the same.
There is one quarter of the year on each side, so after 3 months, you can just flip it around to the next season.
Here are some pics of the general project:


Well, I hope you enjoyed, and thanks for stopping by!